
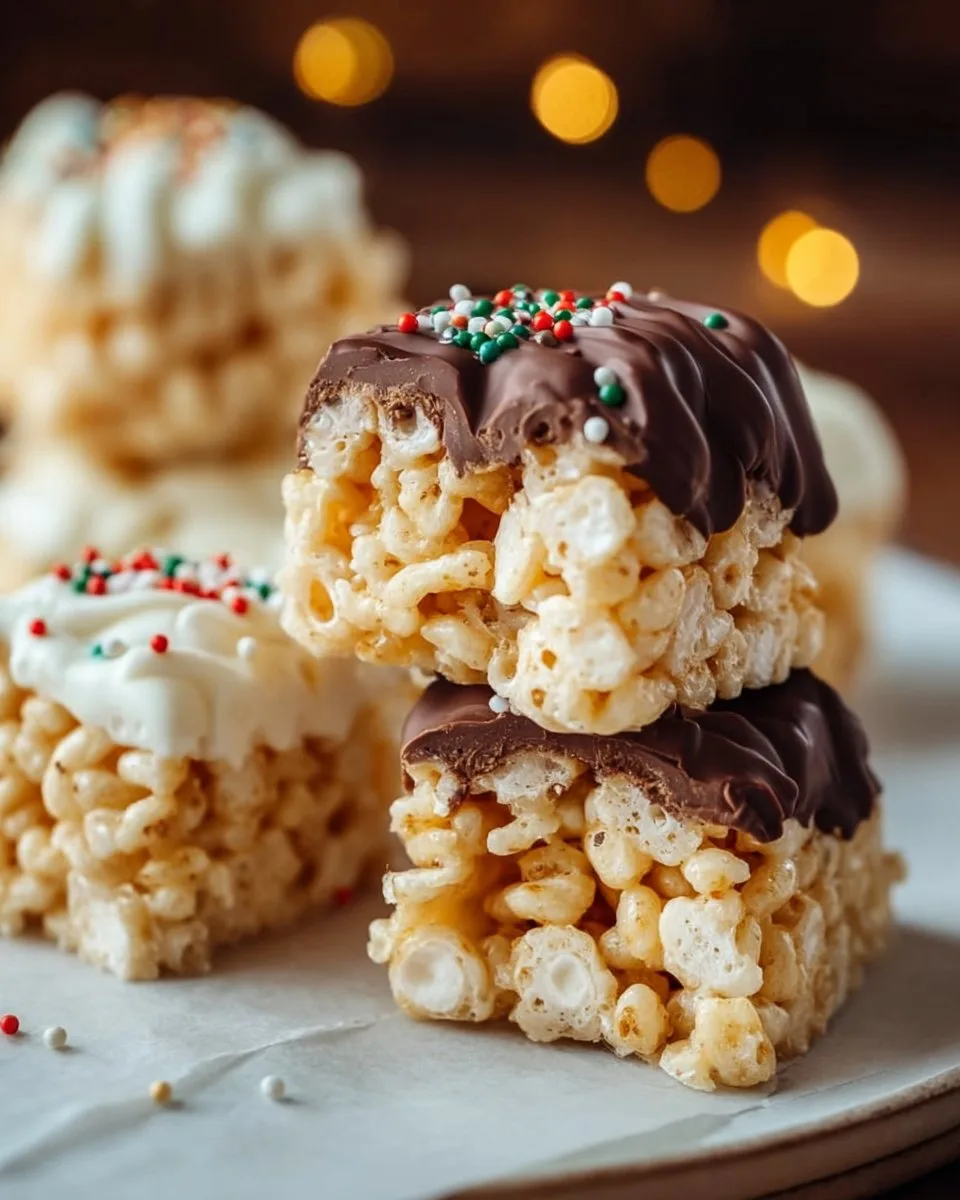
Christmas Rice Crispy Treats are more than just a festive snack; they’re a delightful twist on a childhood classic that instantly brings warmth and cheer to any gathering. I remember my first attempt at making these delightful treats for a holiday party—my kitchen transformed into a whirlwind of melted marshmallows and laughter. Perfect for sharing at Christmas parties or as a fun activity with kids, these treats radiate the spirit of the season. Their vibrant colors and festive sprinkles turn a simple recipe into a centerpiece that’s as tasty as it is eye-catching.
Why You’ll Love This Dish
One of the many reasons to whip up these Christmas Rice Crispy Treats is that they are incredibly quick and easy to make! Ideal for last-minute holiday gatherings, you can have them prepared in under 30 minutes. They require very few ingredients, making them budget-friendly and easy to customize to suit your family’s tastes. Plus, these treats are kid-approved; they love helping to mix and shape the sticky mixture. The holiday spirit shines from each colorful ball, making them a perfect fit for any festive occasion.
“These Christmas Rice Crispy Treats are a holiday staple in our family! They’re the perfect sweet treat and bring everyone together.” – Sarah T.
Step-by-Step Overview
Preparing Christmas Rice Crispy Treats is delightfully straightforward, making it an excellent recipe for both novice cooks and seasoned chefs. First, we’ll melt the buttery goodness and marshmallows together, creating a sticky mixture. Then, Rice Krispies are introduced to the mix, followed by rolling the treats into festive balls. Finally, a sprinkle of holiday cheer coats each bite!
What You’ll Need
Gather the following ingredients to bring these treats to life:
- 3 tablespoons butter
- 1 package (10 oz) mini marshmallows
- 6 cups Rice Krispies cereal
- 1/2 cup holiday sprinkles
Feel free to experiment! You can substitute regular marshmallows with flavored ones for a fun twist.
Directions to Follow
- Start by melting the butter in a large pot over low heat. Make sure not to rush this process to keep the richness of the butter.
- Once butter is melted, add the mini marshmallows. Stir continuously until they are completely melted and smooth.
- Remove the pot from heat and quickly mix in the Rice Krispies cereal. Ensure every piece is coated with that delicious marshmallow mixture.
- Allow the mixture to cool slightly; then, using buttered hands, shape it into bite-sized balls.
- Roll each ball in the holiday sprinkles, ensuring they are fully covered.
- Let the treats cool completely on a baking sheet before serving. Enjoy as a festive snack that’s sure to delight everyone!
Best Ways to Enjoy It
These Christmas Rice Crispy Treats are not only delightful on their own but can also be beautifully displayed! Serve them on a festive platter alongside hot cocoa or a cup of eggnog. They pair well with fresh fruit, adding a playful contrast in flavors. You could even package them in cute bags for party favors—just tie with a colorful ribbon, and you’re good to go!
Keeping Leftovers Fresh
To store your Christmas Rice Crispy Treats, keep them in an airtight container at room temperature. They should stay fresh for up to a week, but let’s be honest—they rarely last that long! If you need to store them longer, consider freezing them. Just place each ball between sheets of parchment paper in a freezer-safe container for up to 3 months—defrost before serving for the best texture.
Helpful Cooking Tips
Here are a few tips to ensure your Christmas Rice Crispy Treats are the best they can be:
- For a smoother melt, use a heavy-bottomed pot to prevent scalding the marshmallows.
- If the mixture is too sticky to handle, dip your hands in a little butter or cooking spray for easier shaping.
- Feel free to add in your favorite mix-ins, like chocolate chips or nuts, for an extra layer of flavor.
Creative Twists
Looking to switch things up? Here are a few fun variations for your Christmas Rice Crispy Treats:
- Chocolate Drizzles: Melt some chocolate and drizzle it over the finished treats before sprinkling the holiday sprinkles.
- Flavored Treats: Use flavored marshmallows, such as strawberry or peppermint, for a fun twist on traditional flavor.
- Theme Varieties: Switch up the holiday sprinkles for different seasons or occasions—think pastel colors for Easter or red, white, and blue for the Fourth of July.
Common Questions
How long does it take to prepare these treats?
You’ll have these delightful treats ready in about 20-30 minutes!
Can I use gluten-free Rice Krispies?
Absolutely! There are gluten-free versions of Rice Krispies available, so you can enjoy these treats without worry.
What’s the best way to store leftovers?
Keep them in an airtight container at room temperature for up to a week, or freeze them for longer storage.
Can these treats be made ahead of time?
Yes! You can make them a few days in advance. Just store them properly to keep them fresh!
Now, with this guide, you’re set to make your Christmas Rice Crispy Treats a memorable part of your holiday celebrations! Enjoy the festive flavors and delightful memories they inspire.
Print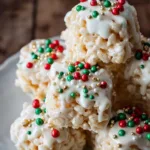
Christmas Rice Crispy Treats
- Total Time: 20 minutes
- Yield: 30 servings
- Diet: Vegetarian
Description
Delightful twist on a childhood classic, perfect for Christmas gatherings.
Ingredients
- 3 tablespoons butter
- 1 package (10 oz) mini marshmallows
- 6 cups Rice Krispies cereal
- 1/2 cup holiday sprinkles
Instructions
- Melt the butter in a large pot over low heat.
- Add mini marshmallows and stir continuously until completely melted.
- Remove from heat and mix in Rice Krispies cereal until coated.
- Allow to cool slightly, then shape into bite-sized balls with buttered hands.
- Roll each ball in holiday sprinkles until fully covered.
- Let cool completely on a baking sheet before serving.
Notes
For easier handling, dip your hands in butter or cooking spray if the mixture is too sticky.
- Prep Time: 10 minutes
- Cook Time: 10 minutes
- Category: Snack
- Method: No Bake
- Cuisine: American