
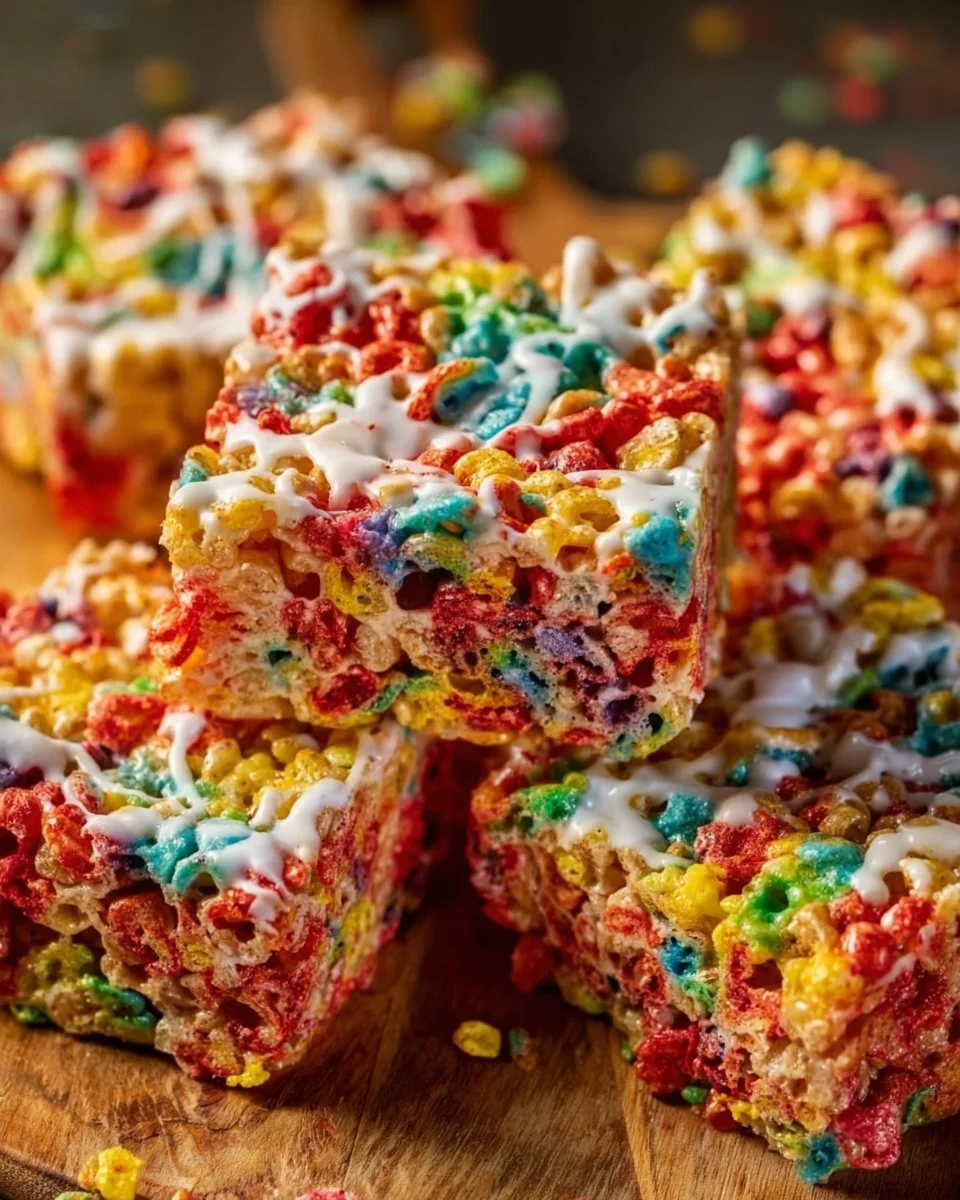
I have fond memories of making these colorful Fruity Pebbles Rice Krispie Treats after school — the kitchen would smell like toasted marshmallow and everyone wanted the biggest square. This version blends the bright, fruity crunch of Fruity Pebbles with classic Rice Krispies for a nostalgic, extra-colorful twist on a timeless treat. They’re fast, fun, and reliably kid-approved — perfect for bake sales, birthday parties, or a quick sweet fix when you want something cheerful and simple.
Why you’ll love this dish
These treats are a tiny bit retro and a whole lot of fun. They come together in about 15–20 minutes and require just a handful of pantry staples. The Fruity Pebbles add bold color and a fruity punch that lifts the usual marshmallow-and-rice cereal combo, so the finished bars are as lively to look at as they are to eat. They’re budget-friendly, require minimal equipment, and are an easy crowd-pleaser for kids and adults who grew up on marshmallow bars.
“Bright, chewy, and impossibly easy — a party staple that everyone asks for seconds of.”
How this recipe comes together
Step-by-step overview before you start:
- Melt butter over low heat, then fully melt the marshmallows into a smooth sauce.
- Stir in vanilla, then fold in both cereals until evenly coated.
- Press the mixture into a greased 9×13 pan, let cool, then cut into squares.
This quick process keeps the marshmallow smooth and prevents the cereal from going soggy. Keep your heat low when melting so the marshmallows don’t scorch, and work while the mixture is warm for an even coat.
What you’ll need
- 3 cups Fruity Pebbles cereal
- 3 cups Rice Krispies cereal
- 1 package (10 oz) marshmallows (about 4 cups)
- 3 tablespoons butter
- 1/2 teaspoon vanilla extract
Notes: You can reduce the total cereal to 5–5.5 cups if you prefer slightly denser bars. For a stronger fruity flavor, increase Fruity Pebbles by up to 1 cup and reduce Rice Krispies accordingly.
Step-by-step instructions
- Put 3 tablespoons butter in a large saucepan over low heat and let it melt gently. Keep the heat low to avoid burning.
- Add the marshmallows to the melted butter. Stir continuously until the mixture is fully melted and smooth. Remove from heat as soon as it’s melted.
- Stir in 1/2 teaspoon vanilla extract until incorporated.
- Add 3 cups Fruity Pebbles and 3 cups Rice Krispies cereal into the marshmallow mixture. Fold gently but thoroughly so the cereal is evenly coated.
- Grease a 9×13-inch baking dish. Using a greased spatula or lightly buttered hands, press the cereal mixture evenly into the prepared dish. Press firmly but don’t compact too much.
- Allow the tray to cool completely on the counter. Once set, cut into squares and serve.
Best ways to enjoy it
These bars are candy-like, so serve them as a dessert or snack rather than a breakfast. Try:
- Cutting into bite-size squares for parties or school lunches.
- Pairing with a simple glass of cold milk to balance the sweetness.
- Topping with a drizzle of white chocolate or sprinkles for birthday trays.
- Stacking them with a scoop of vanilla ice cream for a playful sundae.
They’re portable and un-fussy, making them ideal for picnics and potlucks.
Storage and reheating tips
Store leftover bars in an airtight container at room temperature for up to 3 days — longer if your kitchen is cool and dry. To keep them soft, place a sheet of parchment between layers. Do not refrigerate; cold air can make them hard and stale.
Freezing: Individually wrap bars in plastic wrap, then place in a freezer-safe bag for up to 1 month. Thaw at room temperature for 30–60 minutes before serving.
Food safety: These contain marshmallows and cereals only, so there’s minimal bacterial risk. Still, keep them covered and out of direct sunlight; discard if they develop unusual texture, color, or smell.
Pro chef tips
- Use low heat and constant stirring when melting marshmallows to prevent scorching and grainy texture.
- Lightly grease your spatula and hands with butter to press the mixture without sticking.
- Don’t over-press: compacting too much will make dense, hard bars. Aim for even thickness with a gentle, firm press.
- If you like a softer bar, add one extra ounce of marshmallows (or 2 tablespoons of corn syrup) for extra chewiness.
- Work quickly: marshmallow cools and becomes harder to mix as it sets.
Creative twists
- Chocolate lovers: fold in 1/2 cup mini chocolate chips once the mixture cools slightly so they don’t melt completely.
- Peanut butter swirl: heat 1/3 cup peanut butter until runny and swirl through the mixture before pressing into the pan.
- Vegan/egg-free option: use vegan marshmallows and a vegan butter substitute. Texture may differ slightly.
- Cereal swap: try a mix with Cocoa Pebbles instead of Fruity Pebbles for a chocolatey version.
- Add-ins: toasted coconut, chopped nuts, or crisped quinoa for texture contrast.
Common questions
Q: How long do these take to make?
A: Active time is about 10–15 minutes; cooling and setting take another 30–60 minutes. Total roughly 45–75 minutes depending on cooling.
Q: Can I make these ahead for a party?
A: Yes — make them a day ahead and keep in an airtight container at room temperature. For longer storage, freeze wrapped bars and thaw before the event.
Q: Are there easy substitutions for dietary needs?
A: For vegan bars, use vegan marshmallows and a plant-based butter. Gluten-free options require verifying that the cereals are certified gluten-free.
Q: Why did my bars turn out hard or sticky?
A: Hard bars usually mean you pressed them too firmly or used too little marshmallow. Sticky bars can result from humidity or undercooking/melting — ensuring marshmallows are fully melted and working in a low-humidity environment helps.
Q: Can I add candy or mix-ins?
A: Yes — fold in mini chocolate chips, M&Ms, or nuts when the mixture is still warm but not piping hot to avoid melting everything.
Conclusion
If you want a fast, colorful dessert that taps into nostalgia and is instantly recognizable at any gathering, these Fruity Pebbles Rice Krispie Treats fit the bill. For another take on this playful classic and extra serving ideas, check out Fruity Pebble Rice Crispy Treats – Crazy for Crust.
Print
Fruity Pebbles Rice Krispie Treats
- Total Time: 25 minutes
- Yield: 12 servings
- Diet: Vegetarian
Description
A nostalgic and colorful twist on classic Rice Krispie treats, blending Fruity Pebbles with marshmallows for a fun, kid-approved dessert.
Ingredients
- 3 cups Fruity Pebbles cereal
- 3 cups Rice Krispies cereal
- 1 package (10 oz) marshmallows (about 4 cups)
- 3 tablespoons butter
- 1/2 teaspoon vanilla extract
Instructions
- In a large saucepan over low heat, melt 3 tablespoons butter gently.
- Add the marshmallows to the melted butter and stir continuously until fully melted and smooth. Remove from heat immediately.
- Stir in 1/2 teaspoon vanilla extract until well incorporated.
- Fold in 3 cups of Fruity Pebbles and 3 cups of Rice Krispies until the cereal is evenly coated with the marshmallow mixture.
- Grease a 9×13 inch baking dish, then press the mixture evenly into the prepared dish using a greased spatula or buttered hands. Press firmly but do not compact too much.
- Let the tray cool completely on the counter. Once set, cut into squares and serve.
Notes
To make denser bars, reduce the total cereal to 5–5.5 cups. For a stronger fruity flavor, increase Fruity Pebbles by up to 1 cup.
- Prep Time: 15 minutes
- Cook Time: 10 minutes
- Category: Dessert
- Method: No-bake
- Cuisine: American